Welcome to Jiangsu Yigao Medical


 ENG
ENG

 English
 Español
Welcome to Jiangsu Yigao Medical

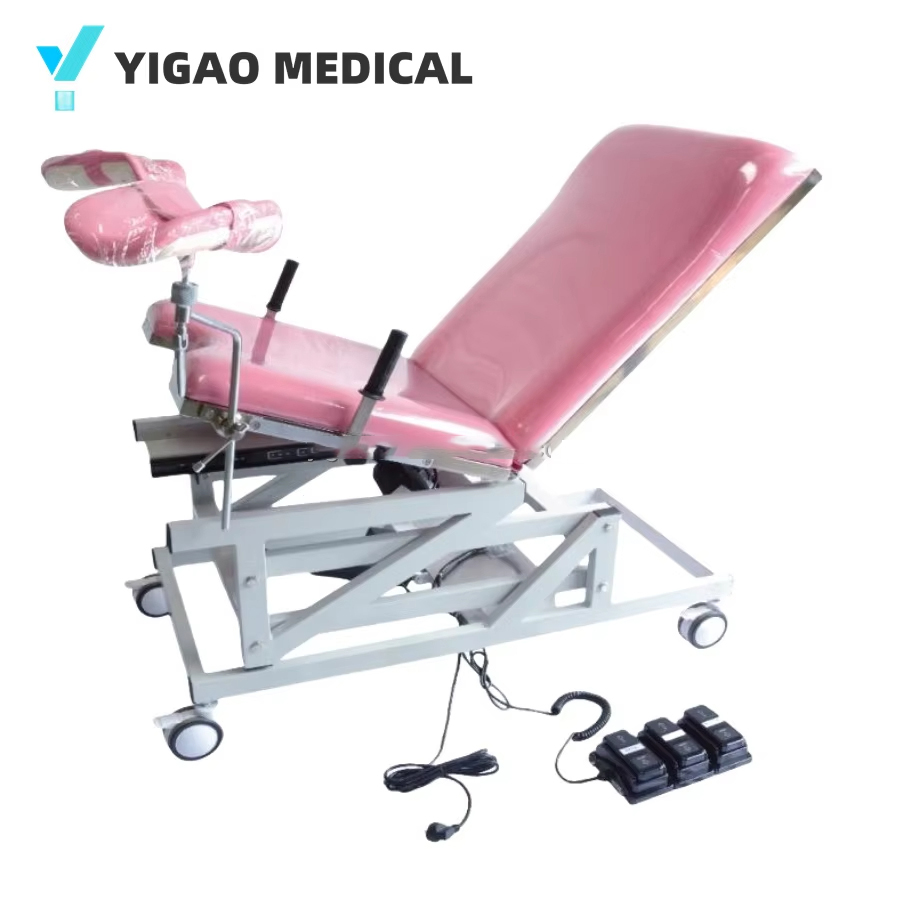
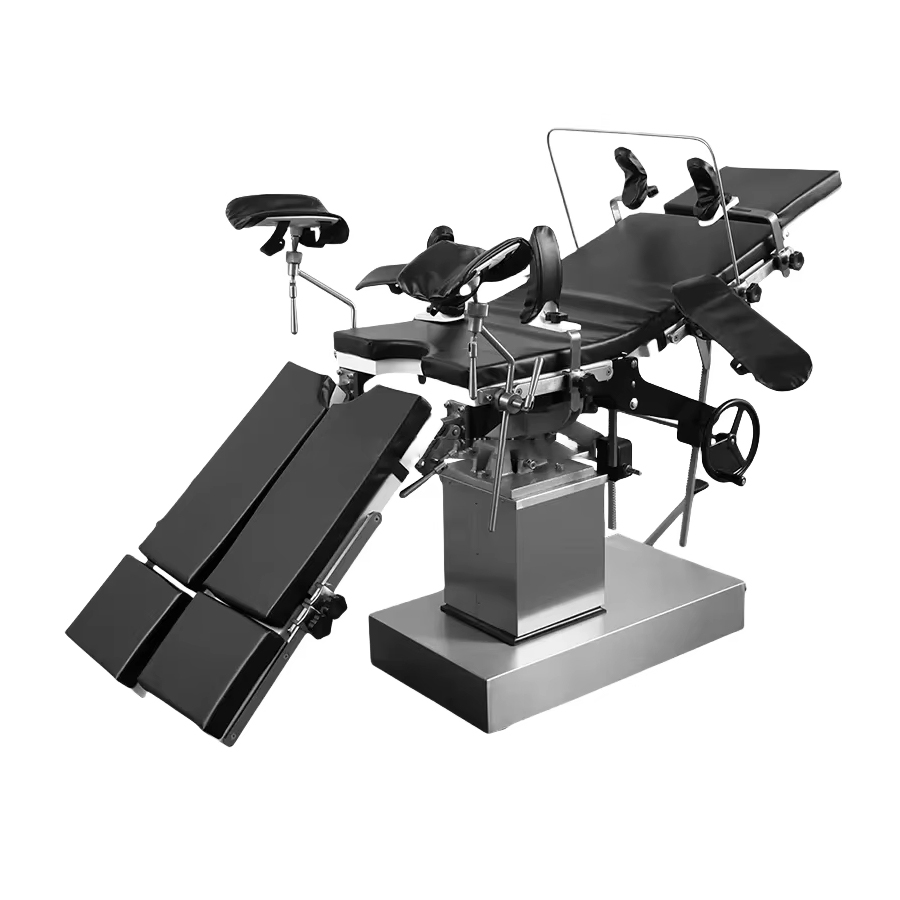
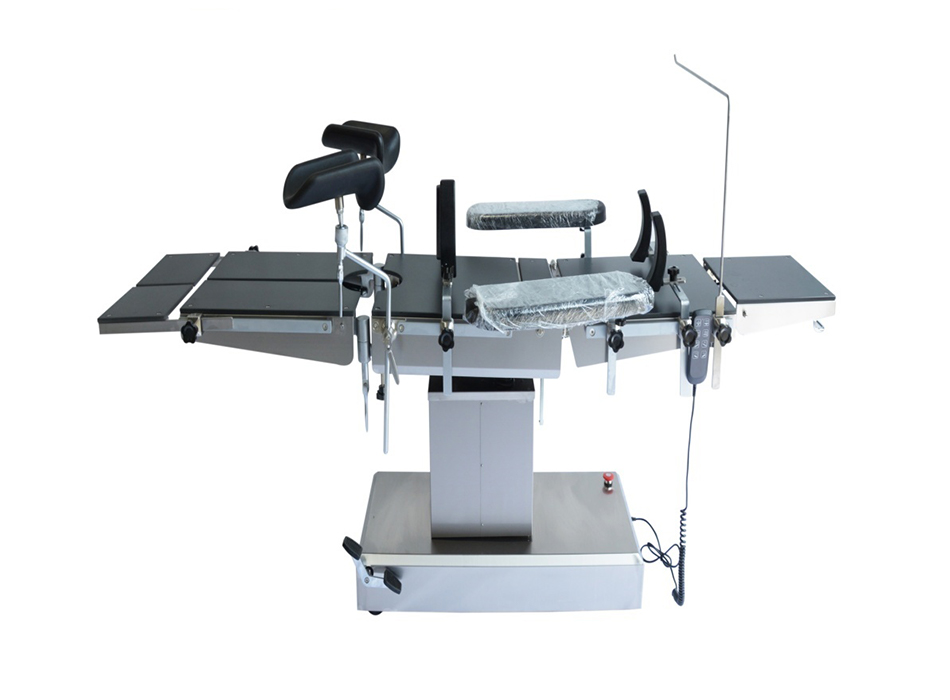
A properly set-up delivery table directly affects the safety of both the mother and the clinical team during labor and birth. The correct configuration depends on the stage of labor, the delivery method, and the patient's physical condition — and getting it wrong can compromise positioning, access, and emergency response time. Whether you are working with a manual delivery table or an electrically assisted delivery bed, the setup process follows a defined sequence that should be completed and verified before the patient is transferred onto the surface.
This guide walks through the practical steps of setting up both manual delivery tables and delivery beds, covers the key adjustments at each stage of labor, and flags the most common configuration errors made in clinical practice.
The terms are often used interchangeably, but they refer to distinct equipment configurations with different setup requirements:
| Feature | Manual Delivery Table | Delivery Bed (Birthing Bed) |
|---|---|---|
| Primary Use | Active delivery and immediate postpartum | Labor through delivery and recovery |
| Height Adjustment | Manual hydraulic or mechanical crank | Electric motor (foot pedal or handset) |
| Section Articulation | Removable/foldable leg and foot sections | Multiple powered articulating sections |
| Trendelenburg | Manual tilt via locking lever | Powered or manual tilt |
| Stirrups / Leg Supports | Attached or bolt-on at fixed points | Integrated or detachable with multiple positions |
| Typical Weight Capacity | 150–200 kg | 200–300 kg (bariatric models available) |
| Setup Complexity | Higher — more manual steps required | Lower — most adjustments motorized |
Manual delivery tables require more deliberate pre-delivery setup because adjustments cannot be made as quickly mid-procedure. This makes pre-use configuration especially important for manual equipment.
Before adjusting any section of a delivery table or delivery bed, complete the following checks. These apply to both manual delivery tables and electrically operated delivery beds:
Document any equipment faults and remove the unit from service if safety-critical components are not functioning correctly. Do not proceed with setup on a table that has failed any of the above checks.
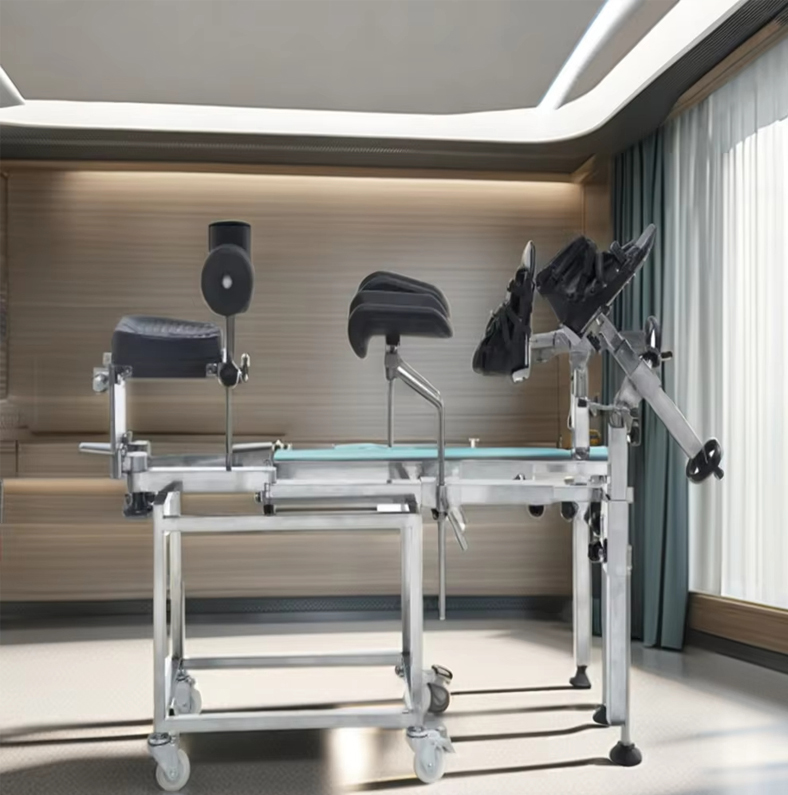
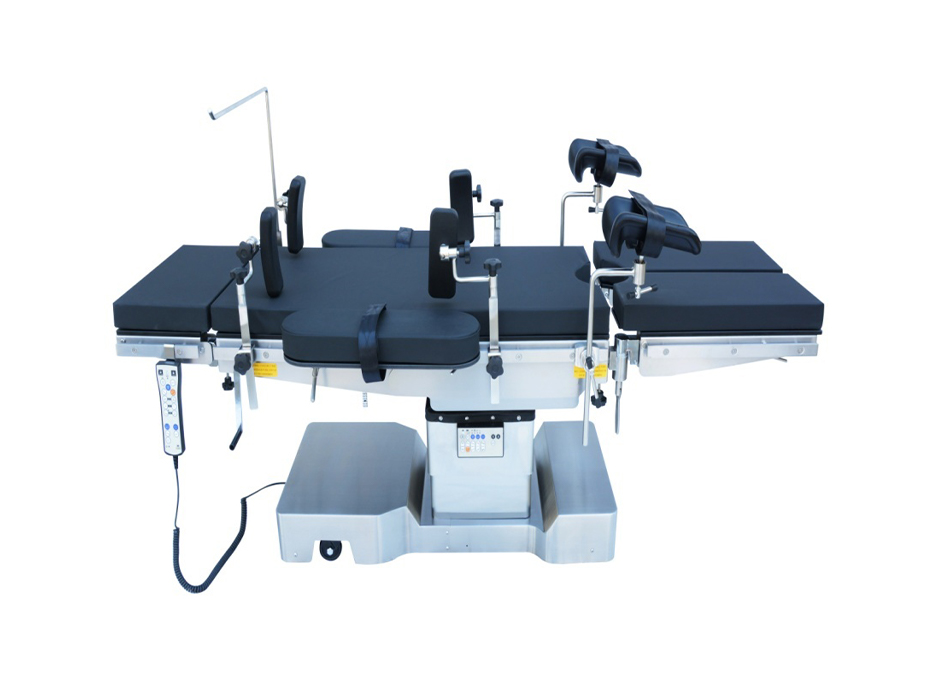
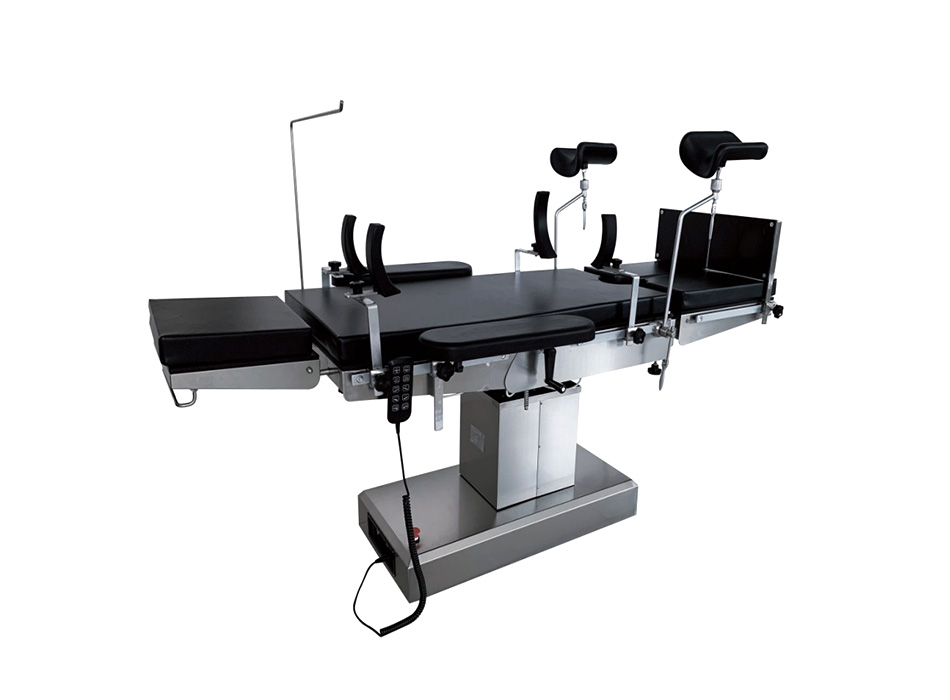
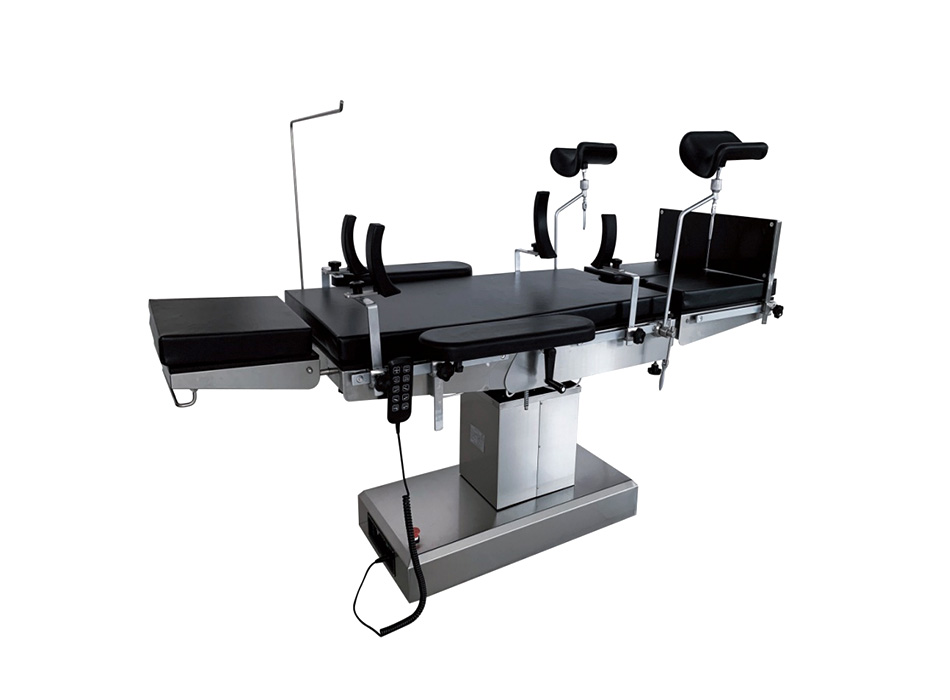
Manual delivery tables vary by manufacturer, but the setup sequence is consistent across most models used in hospital and clinic settings. The following steps apply to a standard manual hydraulic or crank-operated obstetric table:
Adjust the table height so that the attending clinician's elbow is roughly level with the patient's perineum when the patient is in lithotomy position. For most practitioners, this is between 70 cm and 90 cm from the floor depending on height. Use the hydraulic foot pump or crank handle to raise or lower, then lock the height mechanism firmly. Attempt to press down on the table surface to confirm the lock is engaged before proceeding.
For labor and early pushing, raise the back section to 30–45 degrees using the manual adjustment lever or knob at the side of the table. This semi-recumbent position improves maternal comfort and uses gravity to assist descent. Lock the back section into position before patient transfer. For flat dorsal recumbent delivery, lower the back section to approximately 15–20 degrees.
On manual delivery tables, the lower section typically articulates at a central break point and may have a removable footrest or drop-away foot section. For lithotomy delivery:
Stirrups (leg supports) should be installed before the patient is moved onto the table. Insert each stirrup post into the designated socket at the side of the table — typically at the level of the break — and secure with the locking pin or thumb screw. Adjust stirrup height and angle so that when the patient's legs are placed in them, the hip, knee, and ankle are supported without hyperflexion. The angle between the thigh and the torso should be approximately 90–100 degrees. Unequal stirrup height is one of the most common setup errors and can cause asymmetric perineal access and patient discomfort.
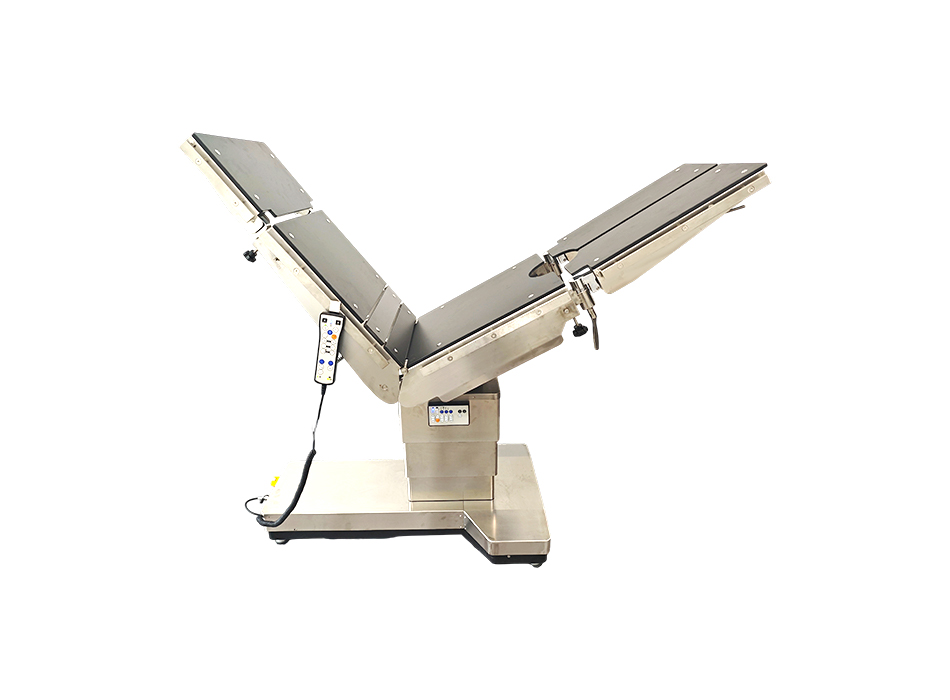
If Trendelenburg positioning is needed (e.g., for cord prolapse or hypotension management), release the tilt lock on the base of the table and use the lever to tilt the entire table surface so the head is lower than the feet. Most manual tables allow 10–15 degrees of Trendelenburg tilt. Lock the tilt before repositioning the patient. Reverse Trendelenburg (head elevated) is used less commonly but follows the same release-adjust-lock sequence.
Before the patient is moved onto the table, confirm the following are in place:
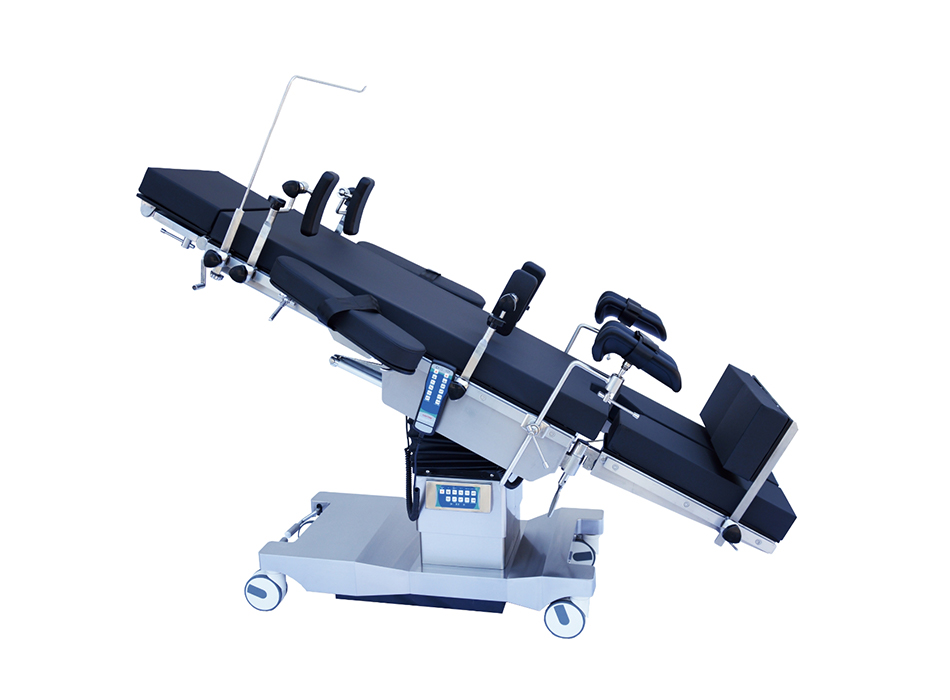
A delivery bed (also called a birthing bed or labor-delivery-recovery bed) is designed to transition between labor support positions and active delivery configurations without moving the patient. The setup process is less technically demanding than a manual delivery table, but the sequence of adjustments still matters.
For early labor, configure the delivery bed in a semi-recumbent position:
When the patient reaches the second stage of labor and active pushing begins, reconfigure the delivery bed:
Both manual delivery tables and delivery beds support multiple delivery positions. The table setup differs depending on which position the clinical team has chosen:
| Position | Back Section | Leg Support | Common Use |
|---|---|---|---|
| Lithotomy | 15–30° | Stirrups at hip level | Most vaginal deliveries, episiotomy, assisted delivery |
| Semi-recumbent | 30–60° | Knee section elevated or foot flat | Active pushing, epidural deliveries |
| Lateral (left lateral) | Flat | Upper leg supported with pillow or support bar | Shoulder dystocia, perineal protection, slow progress |
| Trendelenburg | Head lower than feet | Foot section raised or flat | Cord prolapse, maternal hypotension |
| Upright / Sitting | 80–90° | Feet on foot supports or dangling | Gravity-assisted pushing, patient preference |
The following mistakes occur frequently during delivery table setup and can affect patient safety, clinician ergonomics, or procedural access:
After delivery, the table or bed must be reconfigured for postpartum care and then thoroughly cleaned and reset for the next use. The post-delivery sequence on a manual delivery table typically follows this order:
Document the post-use inspection on the equipment log. Any faults identified during or after use should be tagged and reported before the table is used again.
Manual delivery tables rely on mechanical and hydraulic systems that degrade with use. A scheduled maintenance program is essential to prevent failures during use:
A manual delivery table that is properly maintained should have a service life of 10–15 years in a busy maternity unit. Premature failures are almost always linked to deferred maintenance or incorrect cleaning products that degrade rubber seals and painted surfaces.
If you are interested in our products, please consult us
Copyright © 2026 Jiangsu Yigao Medical Equipment Technology Co., Ltd.

Custom Electric Medical Bed Manufacturers
The information provided on this website is intended for use only in countries and jurisdictions outside of the People's Republic of China.