Welcome to Jiangsu Yigao Medical


 ENG

 English
 Español

Welcome to Jiangsu Yigao Medical

In any operating room, the quality of a procedure depends on far more than clinical knowledge alone. The way surgical instruments are handled — from the moment they leave the sterile tray to the instant they return — directly influences precision, safety, and the working life of the tools themselves. As a professional manufacturer of operating tables, surgical lights, and related OR equipment, we have spent years observing how surgical teams work together. We have seen what separates smooth, efficient procedures from hesitant ones: consistent instrument handling. This guide covers the practical essentials of how to handle surgical instruments, including the correct grips for common tools, safe passing techniques, and the daily care that keeps instruments in top condition.
Surgical instruments are precision tools, engineered to very tight tolerances. A scalpel blade, a pair of scissors, a needle driver — each one has a specific shape, weight, and balance, and each one performs best when held correctly. Mishandling can lead to:
Developing good handling habits also protects the patient. An instrument that slips or fails at the wrong moment creates risk, no matter how skillful the surgeon may be. That is why surgeons, assistants, and scrub nurses should each treat every instrument with deliberate care. Use the right tool for the right tissue, avoid throwing instruments back onto the tray, and never pile heavy instruments on top of delicate ones.
Different instruments require different grips. The techniques below are the ones most frequently taught in surgical training programs and used in daily practice.
The scalpel is held like a writing instrument. Rest the handle in the anatomical snuffbox — the soft depression between the tendons of the thumb and index finger — and place your index finger along the spine of the blade. This position offers the best combination of control and stability for precise incisions. For deeper dissection needing more force, switch to a palm grip like holding a dinner knife. Always fit and remove scalpel blades with a needle holder or hemostat; never use your fingers, as the cutting edge is extremely sharp and the blade can easily slip.
Scissors are held with the thumb in one ring and the ring finger in the other, while the index finger rests extended along the shaft near the fulcrum. The extended index finger steadies the instrument and gives finer control over the cutting angle. Avoid squeezing the rings too hard. A relaxed grip lets the blades move smoothly and reduces hand fatigue during long closures.
Tissue forceps are gripped like a pen, between the thumb and index finger, with the shaft resting lightly on the middle finger. This pencil grip allows fine, precise movements. Use toothed forceps for skin and tougher tissue, and smooth forceps for delicate structures like blood vessels. Holding forceps too tightly can crush the tissue and deform the tips.
There are several accepted ways to hold a needle holder, but the most common is the palm grip: the thumb goes through one ring, the ring finger through the other, and the index finger rests along the shaft. This gives the classic three-point support and the leverage needed for controlled suturing. When loading the needle, grasp it about two-thirds of the way along the shaft from the tip. Holding it too close to the tip blunts the needle and leaves too little length to pass through tissue cleanly. Holding it too close to the suture makes the needle unstable. Lock the needle holder with a gentle rotation of the wrist rather than a strong squeeze of the fingers.
| Instrument | Recommended Grip | Key Point |
|---|---|---|
| Scalpel | Pen or pencil grip | Index finger along the blade spine |
| Scissors | Thumb + ring finger | Index finger steadies the shaft |
| Forceps | Pen grip | Shaft rests on the middle finger |
| Needle holder | Palm grip | Grasp needle two-thirds from the tip |
Safe instrument handling extends beyond the surgeon's fingers. Passing instruments between the scrub nurse and the surgeon is one of the most frequent interactions in any operation, and it is also one of the most common moments for injuries to occur. A few simple rules keep the process safe and efficient:
This hands-free technique is recommended by many surgical safety guidelines because it reduces the risk of accidental needlesticks and keeps the sterile field organized. Clear communication is just as important as grip technique when learning how to handle surgical instruments as a team.
Handling surgical instruments correctly does not end when the procedure is over. The way instruments are cleaned, inspected, and maintained determines how they will perform next time — and it is a critical part of infection control.
Clean promptly after every procedure. Blood, saline, and tissue fluids can cause corrosion and staining if allowed to dry on the surface. Rinse instruments in cold or lukewarm water first; hot water can coagulate proteins and make them harder to remove. Follow with an appropriate enzymatic detergent and a thorough rinse.
Inspect every instrument carefully after cleaning. Check hinges, jaws, ratchets, and box locks. Look for burrs, chips, cracks, rust spots, or discoloration. A damaged instrument should be removed from service immediately and sent for repair or replacement. Never use a damaged instrument in surgery — a jaw that slips or a lock that fails can have serious consequences.
Lubricate moving parts with an instrument-safe lubricant, then sterilize according to your facility's protocol and the manufacturer's instructions. Instruments made from quality stainless steel, similar to our medical-grade steel products, resist corrosion and withstand repeated sterilization cycles far better than lower-grade alternatives.
Good instrument technique does not happen in a vacuum. The operating room environment — the table, the lighting, the layout — plays a major role in how comfortably and safely a team can work.
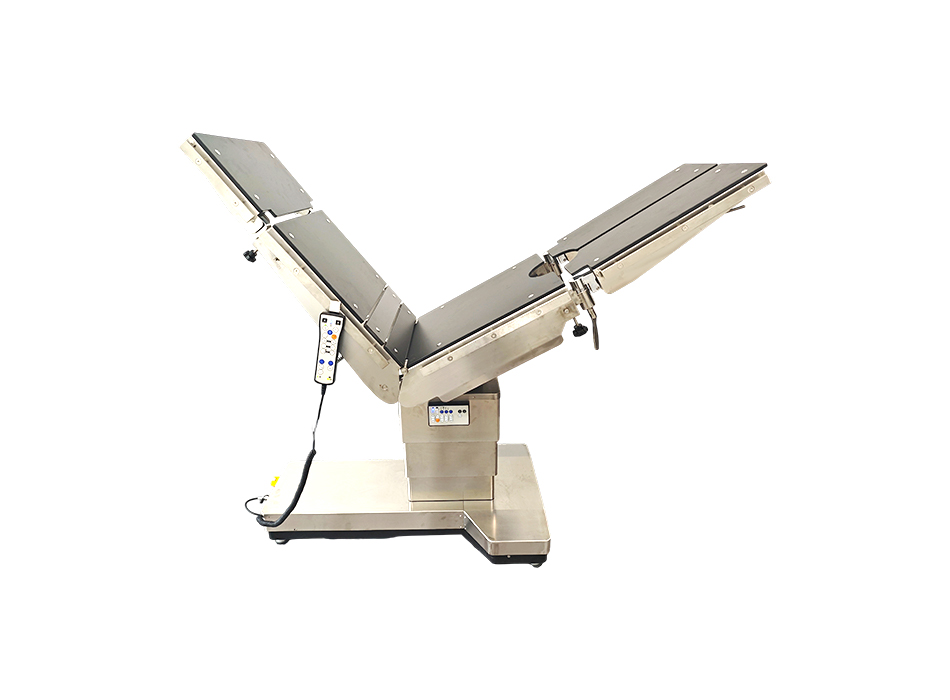
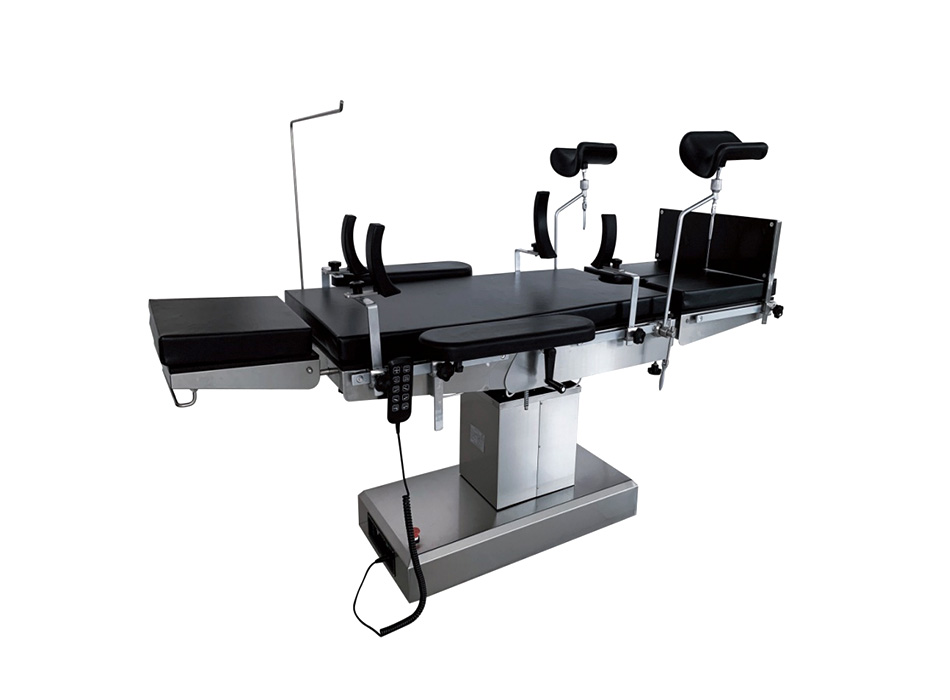
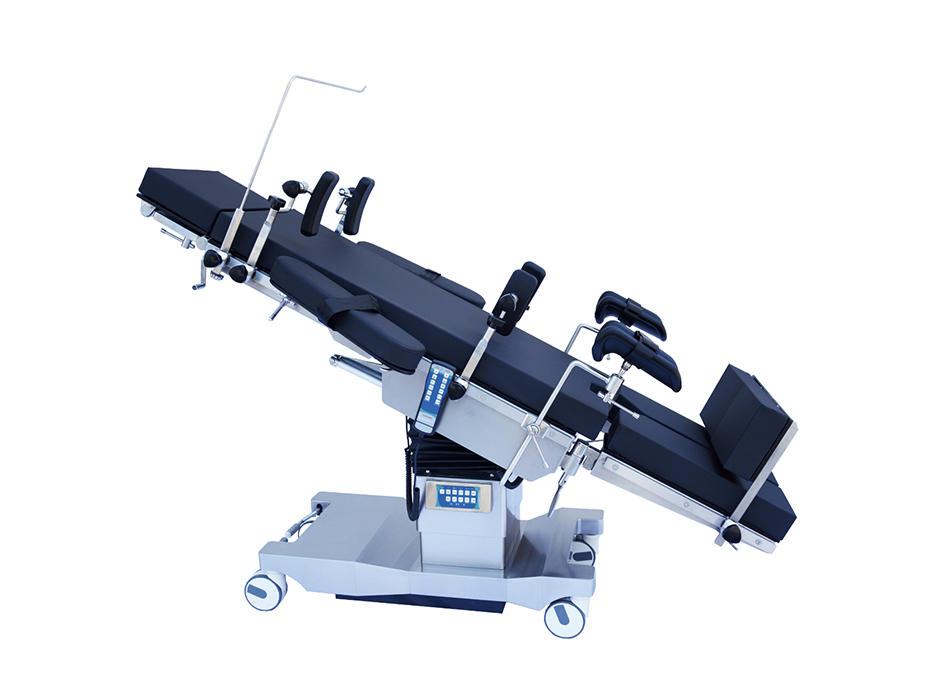
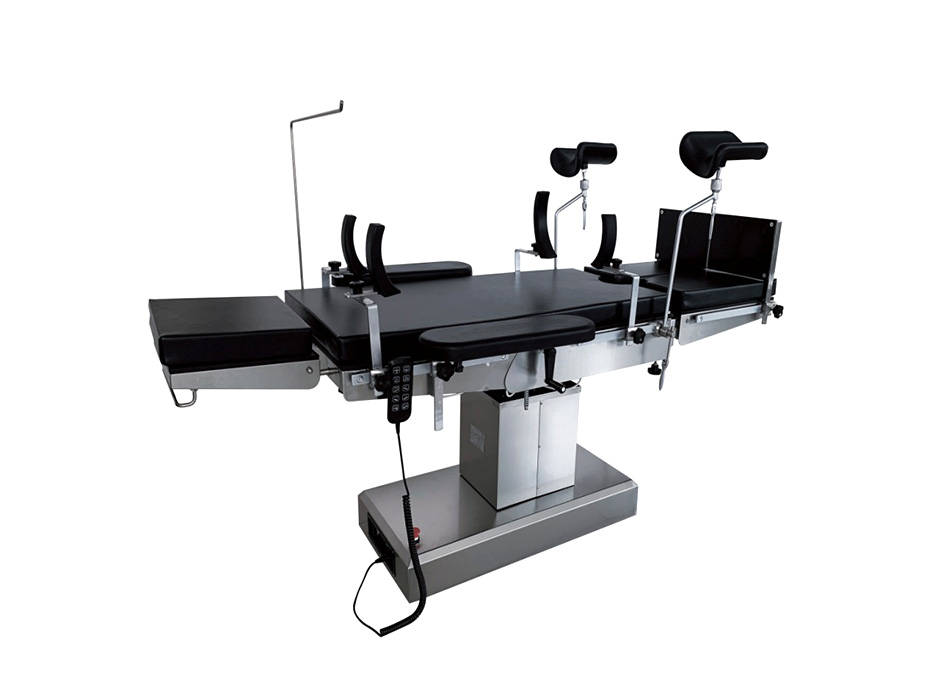
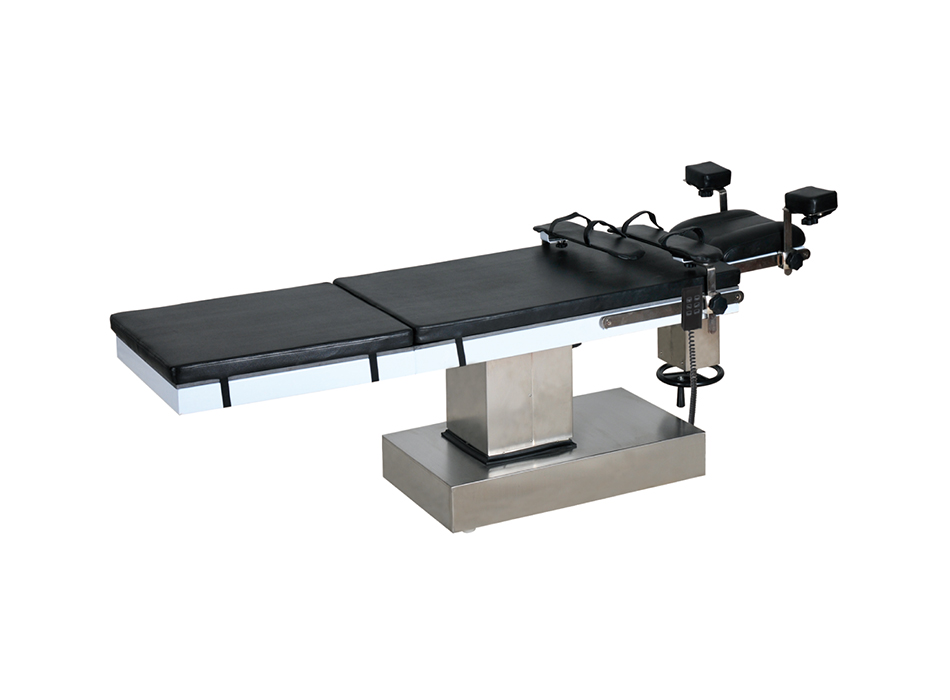
Consider the operating table. A table that raises, lowers, and tilts to the correct position keeps the surgeon's wrists in a neutral alignment, reducing strain during long procedures. Independently adjustable sections help the team reach the surgical site without awkward bending or twisting. Flexible positioning also supports proper instrument angles, letting the surgeon hold the scalpel, scissors, or needle holder ergonomically.
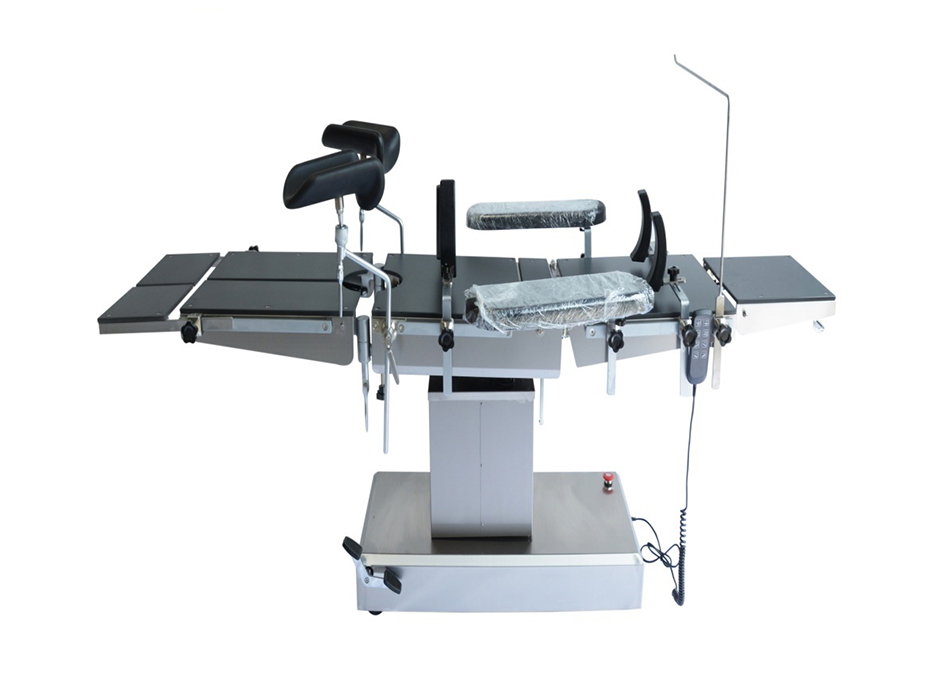 YGD02 Electric Operating Table with Multi-Position AdjustmentsThis four-function electric table supports height, tilt, and backrest adjustments to keep wrists aligned and reduce strain, enabling ergonomic instrument handling during long procedures.View Product →
The same is true for lighting. Even the most precise grip is useless if the surgeon cannot see clearly. A high-quality surgical shadowless lamp reduces shadows and delivers consistent, color-accurate illumination, allowing the surgeon to see exactly where the instrument tip meets the tissue. Good lighting also reduces eye strain, which matters during operations that last several hours.
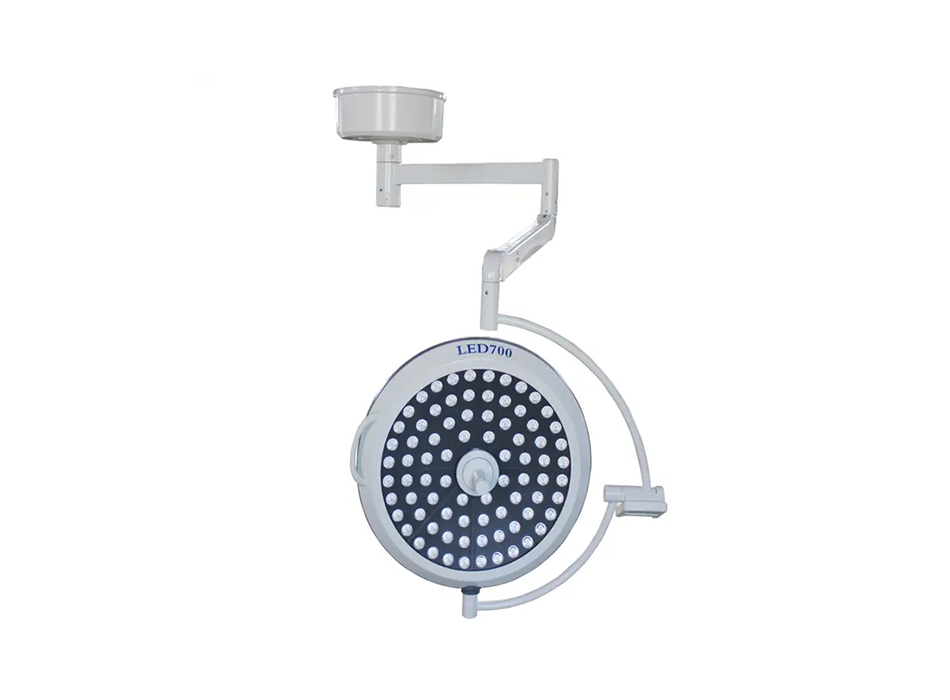 YGLED500 Surgical Shadowless Lamp for Clear VisionWith 150,000 lux, high color rendering, and shadowless illumination, this lamp minimizes visual strain and lets surgeons see tissue details precisely—critical for hours-long operations.View Product →
When table height, patient position, and lighting are all correctly configured, the surgical team can focus on their instruments and the patient instead of fighting the environment. We believe well-designed OR equipment is part of good instrument handling: it gives skilled hands the support they need.
Learning how to handle surgical instruments well is an ongoing process. It takes practice, honest feedback, and a willingness to refine every grip, pass, and post-operative routine. But the fundamentals are simple: hold each instrument with a stable grip, pass sharps safely, and care for every tool as if it must last a thousand more procedures.
With the right fundamentals and the right environment, surgical teams can work with greater confidence, greater precision, and greater safety. If you have questions about operating room equipment or how to set up a surgical workspace that supports your team, contact us — we would be glad to help.
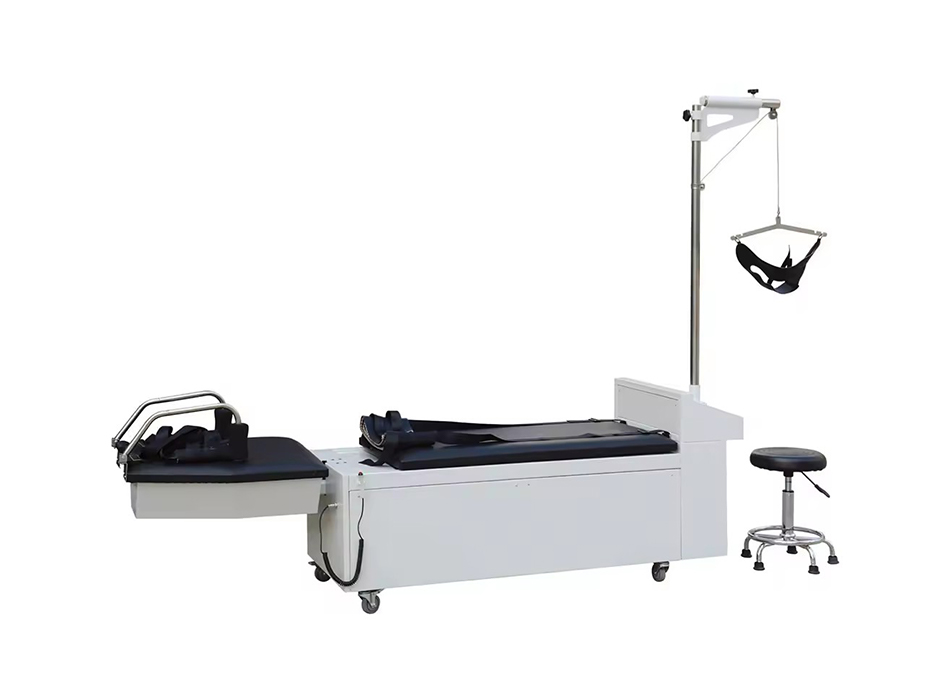
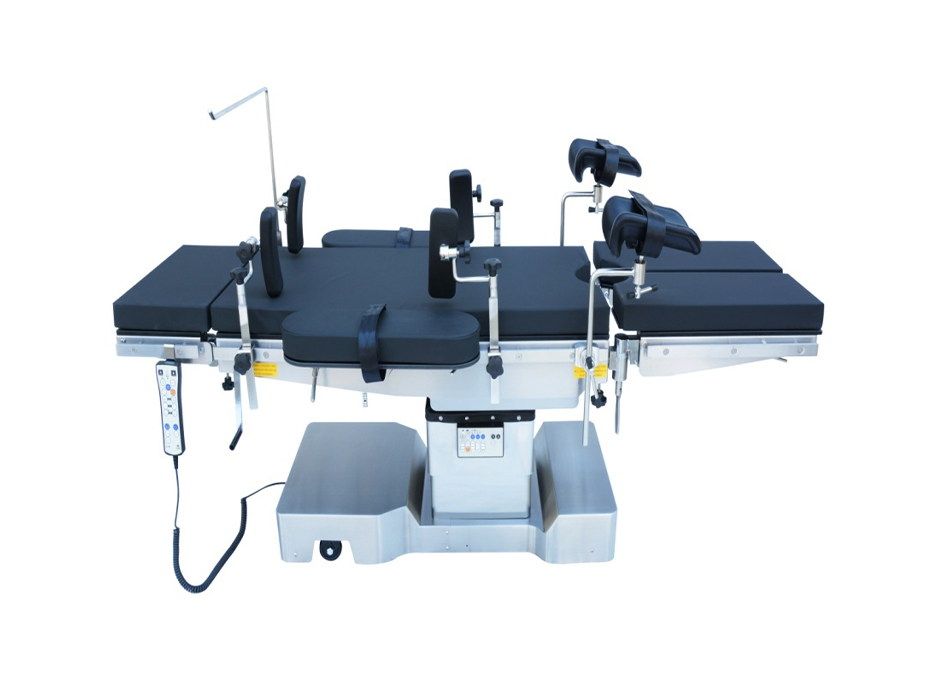
If you are interested in our products, please consult us
Copyright © 2026 Jiangsu Yigao Medical Equipment Technology Co., Ltd.

Custom Electric Medical Bed Manufacturers
The information provided on this website is intended for use only in countries and jurisdictions outside of the People's Republic of China.