Welcome to Jiangsu Yigao Medical


 ENG

 English
 Español

Welcome to Jiangsu Yigao Medical

Every operating room runs on a quiet kind of logic. A surgeon reaches for scissors, and the scissors are there. The scrub nurse picks up a clamp, and the clamp is ready. That smooth flow does not happen by accident. It comes from a deliberate method for arranging surgical instruments before the case begins. A thoughtful layout saves time, reduces contamination risk, and keeps the team focused on the patient. This guide explains how to arrange surgical instruments in a practical way, whether you are setting up a general surgery tray, preparing the back table, or organizing a mayo stand for a complex procedure.
The very first rule of surgical instrument arrangement is that everything starts with the sterile field. The scrub person opens the outer wrapping of sterile trays, removes the inner wrap with sterile transfer forceps, and places instruments on a back table covered with a sterile drape. No instrument should ever extend past the edge of the table. If you are not sure whether an item has touched a non-sterile surface, treat it as contaminated. Open instruments carefully, count them with a second person when the protocol requires it, and keep sharp instruments in a protected area so they do not catch on drape material. The same discipline applies to the arrangement: the back table should have a clear layout that remains predictable for everyone who scrubs in.
Think of the back table as the storage and staging area for the entire operation. It needs more than neat rows of instruments; it needs zones. The working zone, closest to the scrub person, is for instruments being passed frequently. The middle zone holds instruments that may be used shortly. The far zone is for backup items or supplies that should stay safely out of the way. Place heavier instruments toward the center of the table because that keeps the tray balanced and prevents accidents when the table is moved. Keep delicate instruments like micro scissors and needle holders away from heavy clamps and retractors, and use small sterile towel barriers to define groups. This prevents instruments from sliding into one another and helps the scrub person spot missing items at a glance.
Now that the back table has zones, think about the order in which instruments are used. The first set is for incision, often a knife and skin retractor. The next set is for exposure, such as self-retaining retractors and deeper retractors. Then comes the dissection set, including scissors, forceps, and suction. After that, hemostasis clamps and ties are needed, and finally the closure set with needle holders, suture, and skin staples. If the scrub person arranges the trays in this sequence, moving from one task to the next requires almost no searching. For example, a laparotomy tray might be organized like this: sharp instruments on the upper left, clamps in the center, retractors on the lower right. This turns the tray into a timeline of the operation.
The mayo stand is the immediate delivery point, positioned over the patient and used by the surgeon and assistants. Unlike the back table, the mayo stand should be lean. Carrying every instrument from the set creates clutter and makes it harder to see the one you need. Instead, load only the instruments required for the current phase of surgery. A standard layout might include a scalpel, a pair of scissors, two forceps, and a few clamps. When the incision is closed, the scrub person can exchange them for closing instruments. Position the mayo stand so it does not push the surgeon's arms, and adjust the height so instruments can be passed at a comfortable angle.
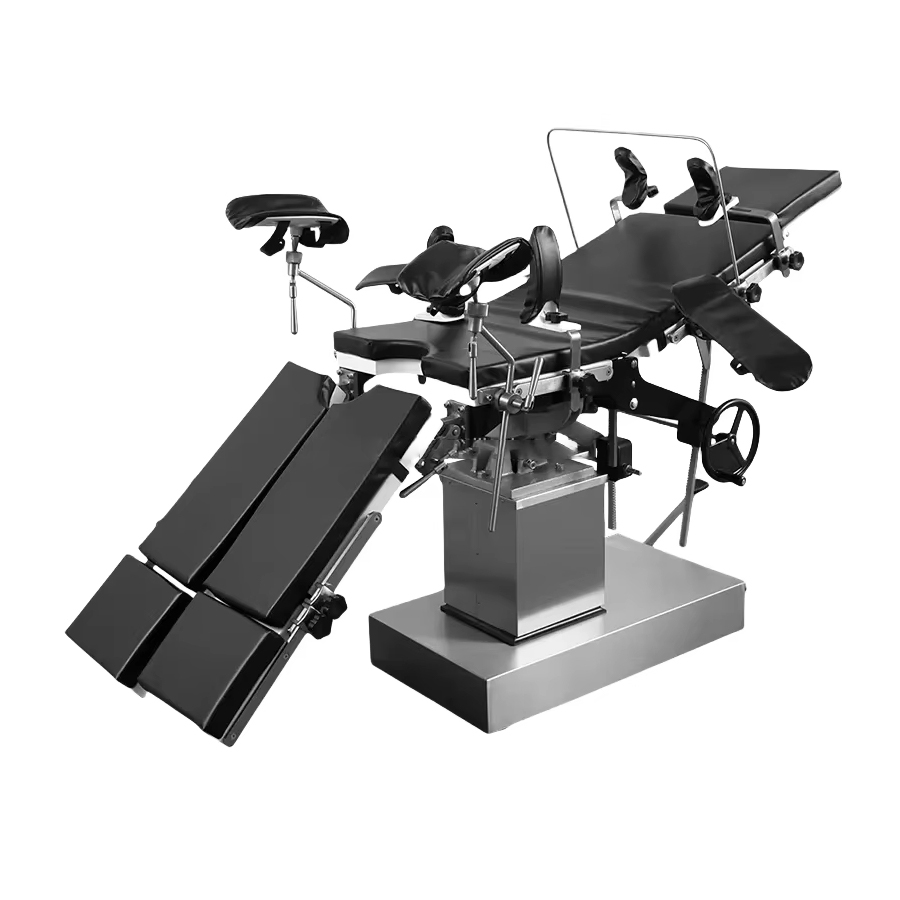
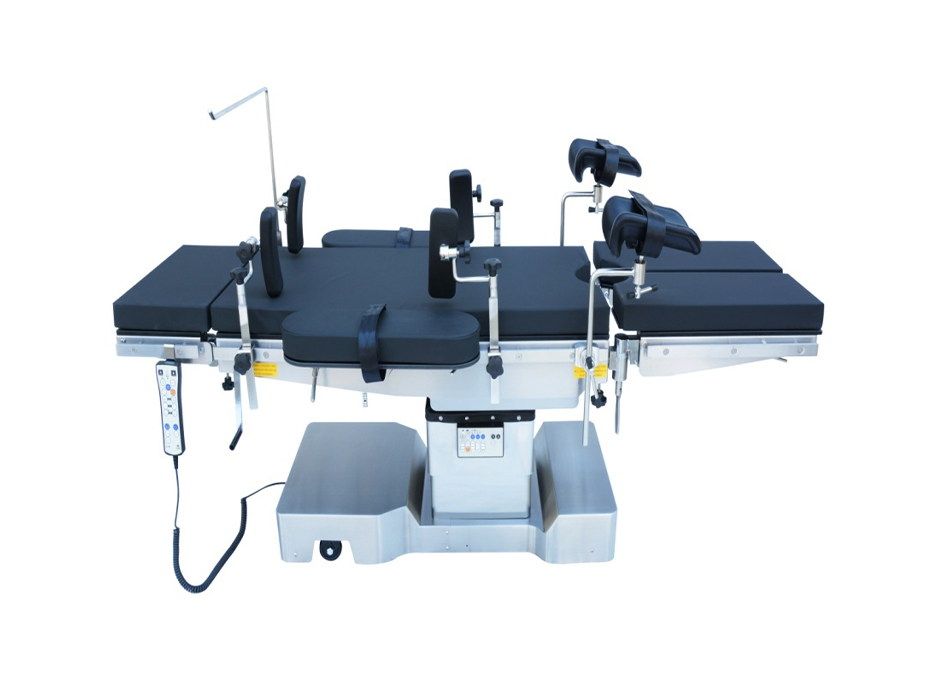
The patient's position and the operating table set the stage for instrument flow. Confirm the table is level, locked, and at the right height before the drapes are applied. The surgical site should be aligned with the surgeon's natural working position, and the scrub person and mayo stand should sit on the opposite side to create the shortest safe transfer path. A narrow, stable approach means instruments do not have to travel around drape poles or equipment. This is especially important in long procedures, where even small inefficiencies add up. An operating table with smooth height adjustment and articulating sections helps the team position the patient exactly where the instrument layout can work best.
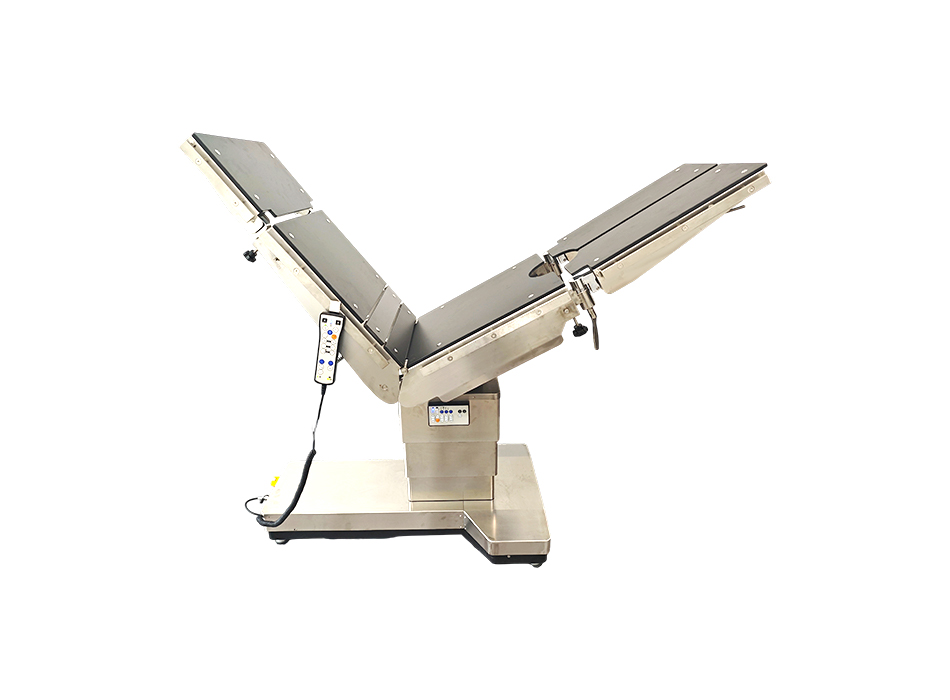
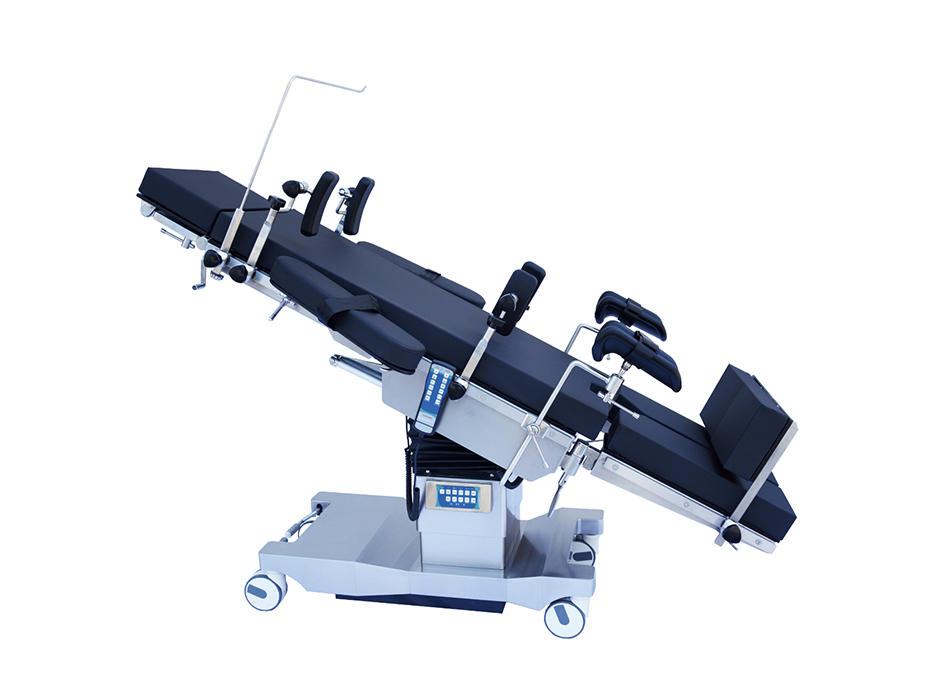
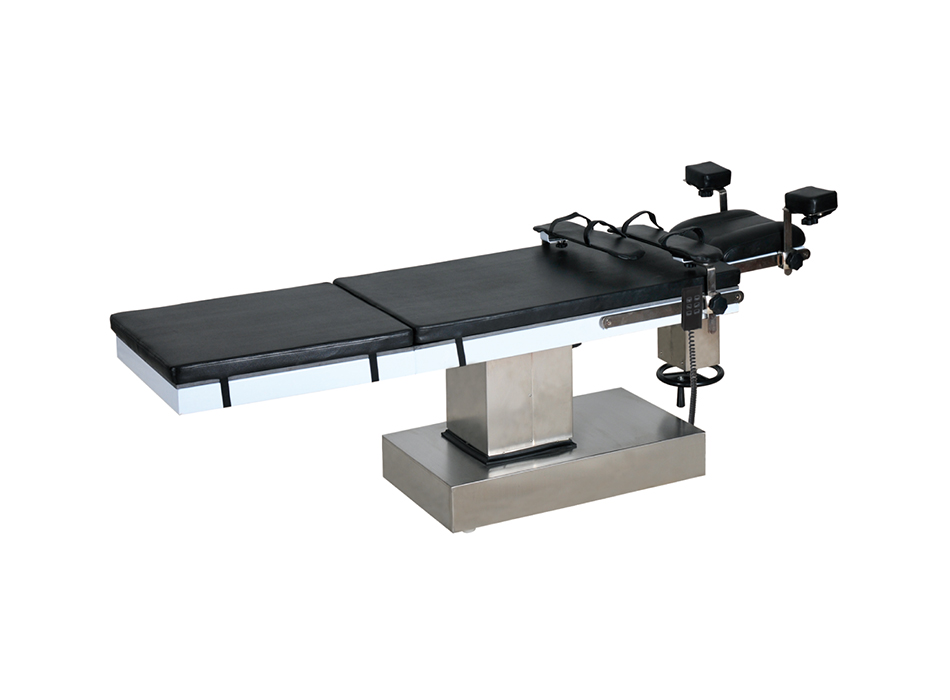
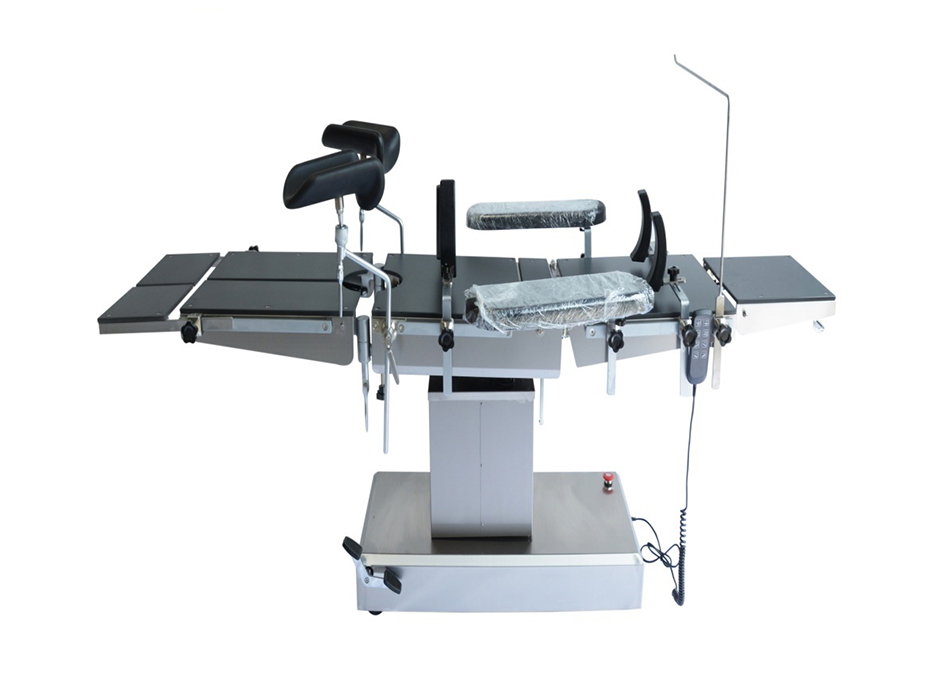 YGD02 Electric Operating Table for Precise PositioningThis 4-function electric table offers smooth height and tilt adjustments, helping your team align the surgical site exactly with the instrument layout.View Product →
The type of table you choose also changes how you plan the setup. If you are reviewing operating table options, think about whether the table's accessories and movement controls fit the way your team arranges instruments.
Even a perfect instrument layout is useless in dim light. Positioning lights is part of the arrangement because lamps cast shadows around the mayo stand and back table. Set up overhead shadowless lamps before drapes are placed, and use a secondary mobile light to fill in shadowed areas. The main light should be aimed at the surgical site, while the secondary light can illuminate the instrument landing zone where the surgeon receives tools. This improves accuracy and makes it easier for the scrub person to monitor the field. A reliable LED surgical lamp with a well-designed suspension reduces clutter above the sterile area and helps the team work with fewer visual interruptions.
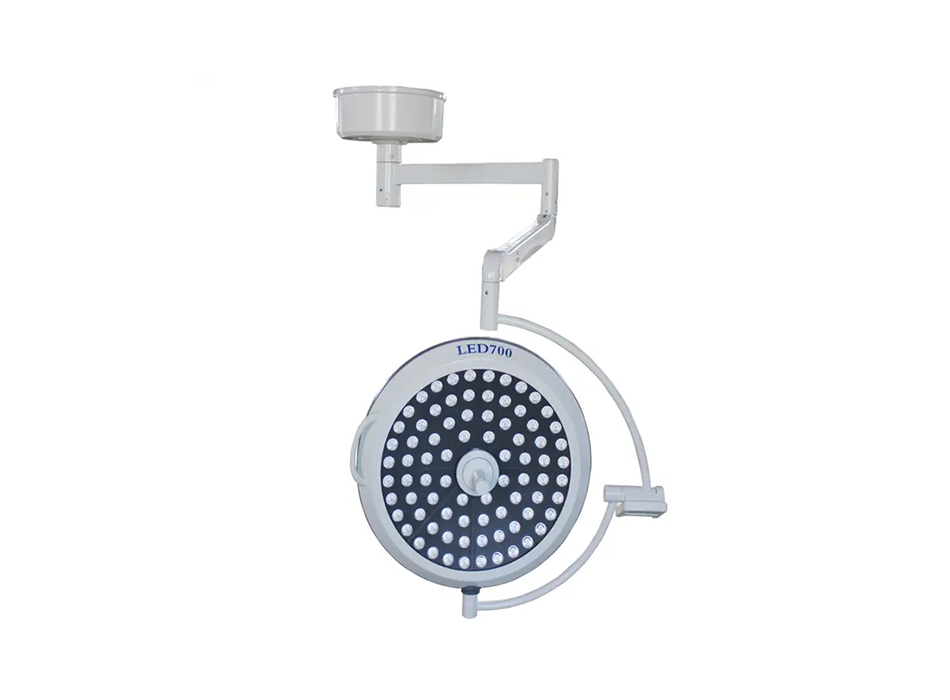 YGLED500 Shadowless Lamp for Clear Instrument DeliveryWith high illuminance and adjustable color temperature, this LED lamp reduces shadows around the mayo stand and back table, improving visibility during tool transfer.View Product →
Every specialty has its own instrument logic. General surgery trays usually follow the sequence of the operation: skin incision, exposure, dissection, hemostasis, and closure. Orthopedic procedures require large retractors, bone holding forceps, and sometimes power tools, which need to be separated from fine instruments to avoid damage. Neurosurgery setups protect micro scissors and bipolar forceps in a dedicated corner of the back table. Ophthalmology instruments are even smaller, and a compact tray with low-profile dividers works best. The more specific the case, the more valuable it is to create a written layout that everyone follows.
| Specialty | Priority Instruments | Arrangement Focus |
|---|---|---|
| General surgery | Scalpels, scissors, retractors, clamps | Sequential phases from incision to closure |
| Orthopedics | Bone elevators, drivers, large retractors | Heavy items centered, power tools separate |
| Neurosurgery | Micro scissors, bipolar forceps, suction tips | Delicate zone separated and protected |
| Ophthalmology | Fine forceps, corneal scissors, tiny needle holders | Minimal handling, instrument tips protected |
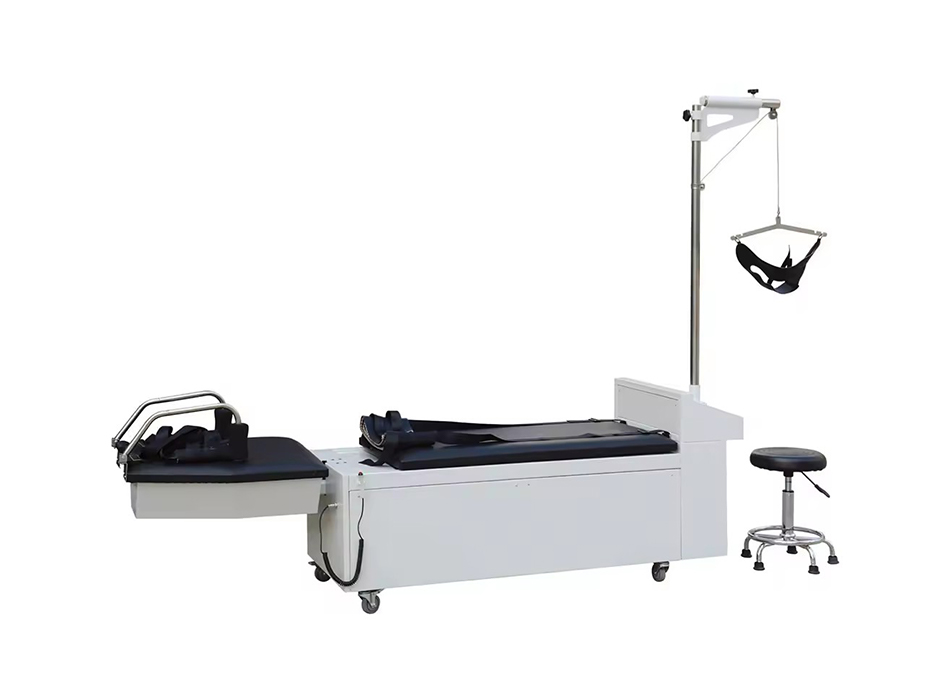
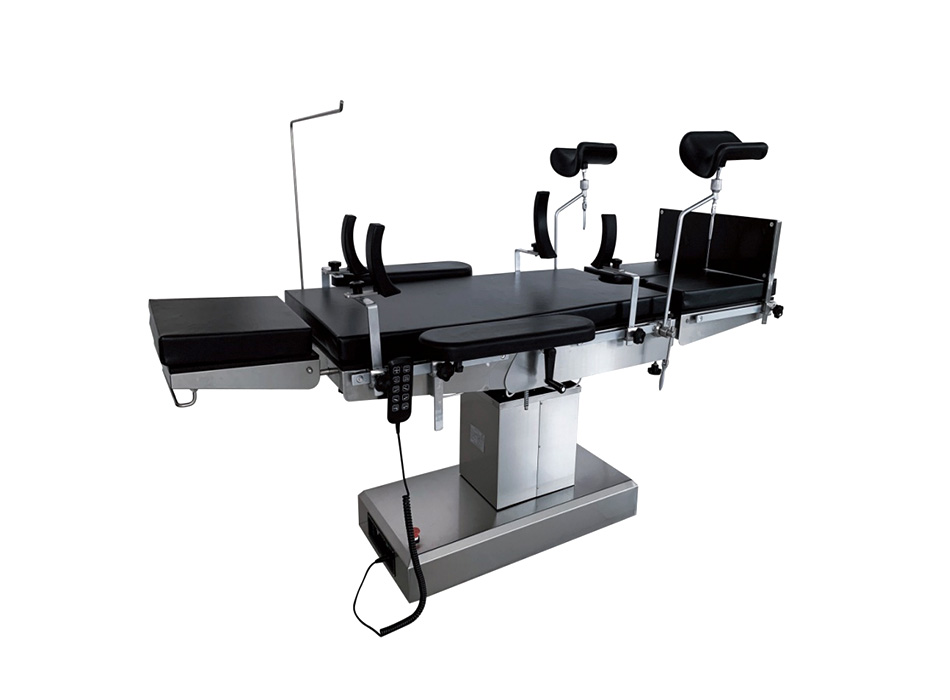
For some procedures, a manual operating table is still a dependable choice. It has fewer components to prepare and simple adjustments that make it easy to set up in a busy room.
 YGS3002A Manual Table for Simple, Reliable SetupA dependable mechanical table with straightforward adjustments, ideal for busy rooms where quick positioning supports a consistent and efficient instrument arrangement.View Product →
Standardization is the key to improving instrument arrangement over time. Use preference cards, take photos of the recommended layout, and build checklists for each procedure. Review the setup after a complex case and ask the surgeon whether any instrument felt hard to reach. These small adjustments become permanent improvements. Consistency also supports patient safety: when the scrub team counts instruments, a well-organized tray makes the count faster and more reliable. The goal is not perfection; it is a calm, repeatable system that works even when the room is busy.
How to arrange surgical instruments is not just a technical question; it is a teamwork question. A thoughtful layout reduces stress, supports safety, and helps the whole surgical team move with confidence. If you are planning a new operating room or updating your current equipment, your instrument workflow should be part of the decision. Our team is happy to discuss your setup and help you find equipment that fits your clinical routines.
If you are interested in our products, please consult us
Copyright © 2026 Jiangsu Yigao Medical Equipment Technology Co., Ltd.

Custom Electric Medical Bed Manufacturers
The information provided on this website is intended for use only in countries and jurisdictions outside of the People's Republic of China.